- Startseite
- Ausbildung / Karriere
- Resources
- Video and Online Presentations
Video and Online Presentations
The following tips and ideas were collected by the participants of a workshop on video and online presentations on 17-18 February 2021.
In general, we found that many best practices are the same in online and offline presentations. But we also collected tools and ideas for online and video presentations in particular which we are happy to share on this page.
There is no right or wrong in how to do these things, so feel free to just choose whatever you feel most comfortable with.
Online formats
Advantages and challenges
Most of us probably prefer meetings and conferences in a room full of people. But we also came up with some advantages of online meetings:
- All members of the audience have an equally good vision on your slides
- You can have your notes with you while presenting and people don't see them
- You can take notes more easily while others are presenting
- Screensharing is a good tool to discuss your data or tools / software
And these are some potential challenges:
- It is difficult to present when you don't (properly) see your audience, mimics and reactions are reduced; interaction with the audience is limited
- There are often less questions / contributions to the discussion because people don't feel comfortable asking them in an online meeting
- The audience gets distracted more easily
General tips
Getting started
- Know your audience; adjust your content, story and illustrations to their previous knowledge
- Get aquainted with the guidelines provided by the conference organisers
Preparing your slides
- Number your presentation slides / poster sections and use page titles to emphasize content (will facilitate Q+A)
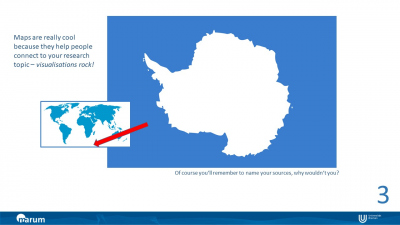
- Use of photos, illustrations, graphs, animations, and videos - show rather than tell
- Consider figure resolution and size. Audience members may view your presentation from a range of devices (e.g. on tablets or laptops with a rather small screen or on a large computer screen)
- Avoid using red and green colours (~15% of the population is colour blind);
- Make a decision whether to use the template of the institution your affilaited with (pro: the audience may recognise the template and associate you with this institution; con: uses up space from the screen); option: use template on first (and last) screen only
How much / how many?
Focus on the most important, there is no need to tell your whole PhD project in one presentation.
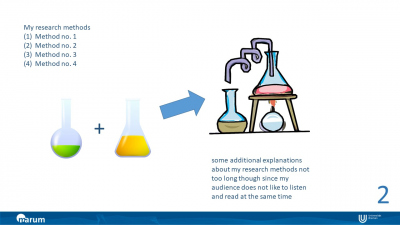
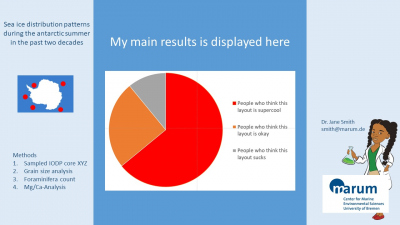
If you have only a few minutes presentation time, you might want to spin your story around your main results and why they matter. You can save time by mentioning your methods without explaining them in detail.
Quick guide for starters
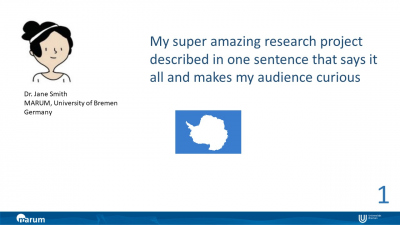
- Phrase your main message in one sentence
- Define how much and which data and explanations you will need to make this message comprehensible for your audience.
- Choose figures and data to illustrate your talk. Prepare them specifically for this presentation.
- Think of a storyline, and possibly a twist, an anecdote or some other memorable fun fact.
- Find a strong opening and ending that fits your personality.
Engaging your audience
- Tell a good story (see below)
- Use a mix of different types of illustrations/figures, e.g. hand-drawn, digital and photos
- Online polls are a good means of involving the audience (if applicable)
- Use videos and animations for illustration; should have a good quality, otherwise tiring
- Catch up so people who were temporarily distracted can still follow your talk / get back into it
- Repeat questions from the audience if there is a chance that not everybody may have been able to hear it
- Try to speak slowly and distinctly to account for those who are not used to your accent (this applies at every international conference, also to native speakers)
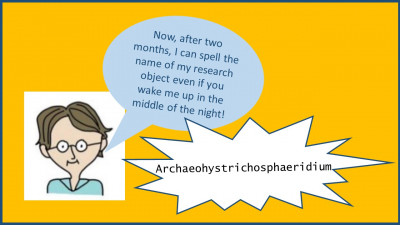
- Tell an anecdote, for example about how long it took you to learn how to spell the name of the species that your research focuses on
Telling a good story
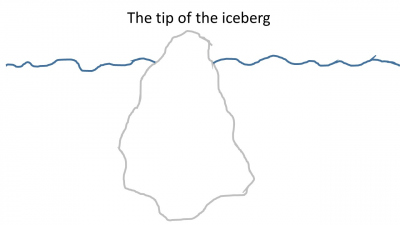
The average conference presentation starts with "Today I am going to present to you..." and ends with "Thank you for your attention", often in combination with a photo of a sunset or an iceberg. Since this is a common thing to do, you will show that you understand the game and know how conferences work. What this opening and ending probably don't do for you, is making a lasting impression. Do you want to be remembered for your science? Try to make
A strong start
- (Briefly) introduce yourself so people know how to pronounce your name and realise where you come from/what your affiliation is- unless this has already been done by the convener; mention the larger project that yours is a part of (if applicable) - this does not necessarily need to be your first sentence, you can also introduce yourself with a later slide
- Jump right into the topic; your audience already knows what you are going to talk about, they read it in the programme and possibly on your first slide
- You can start with a question directed at the audience (don't forget to pause for a moment so people have time to let the question sink in)
- "Once upon a time" or similar can also be a start
- Many of us found it nice if the presenter starts by saying that they didn't know anything about the topic themselves before they started working on it - this may pick up the audience from their level of knowledge
A strong finish
This will largely depend on what your aim is.
- If there is time for a discussion, it is helpful to end with a slide of your results / discussion points / questions for the audience
- Use a cliff hanger if you would like to draw the audience's attention to other content, such as a poster
Find more info on storytelling in science here:
What Hollywood can teach researchers about scientific storytelling
Storytelling for scientists – a masterclass in why and how to make science relatable
Worlds apart. A story of three possible warmer worlds (an example of storytelling in science from the IPCC)
Online posters - static
- Landscape format works better than portrait because computer screens are in landscape format
- PDF format may work better than others, because users can zoom in easily
- A photo of you / the team of authors helps people relate to your research
- Focus on the most important content (no need to press a whole research paper into one poster!)
Examples of online poster layouts (external link)
General tips on poster making (YouTube)
- Making a better research poster [3:53]
- Creating and presenting virtual posters [1:16:44]
Online posters - interactive
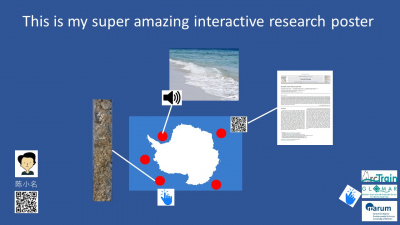
In interactive posters, you use different kinds of media to illustrate your content, for example by combining text, images, graphics, audio and video on one digital canvas.
Advantages of interactive posters are
- More space for complex content
- Texts, pictures, graphs and tables can be zoomed into
- Possibility for continuous updates to include newer research results
- Moving pictures / animations / films can be included
- Illustrated topics may function self-explanatory
- The viewer can decide on the depth and duration of the information process
Conferences that offer interactive poster display, will usually provide the respective software you need on their web site (you'll find examples of commercial software under Tools and resources)
If you want to add interactive content to your conventional poster, you can use QR codes to direct the visitor to a web page on which you present additional content (publications, films, etc.).
Poster pitch
A poster pitch is meant to be a teaser to catch your audience's interest in your poster. There is no need to get too much into detail.
- A photo of you / the team of authors helps people relate to your research
- An image of your poster on the last slide will help to recognise your poster; at a real-life conference, the number of the poster session is also helpful
- Most people will end their pitch with something like "If you are interested to learn more, meet me at my poster". You might want to try and stick out, come up with something more creative!
Example of a memorable poster pitch (presented at the EGU 2017)
Live online presentation
Technical tips:
Camera: should be at eye-level; external cameras are usually better than integrated ones
Lighting: face your brightest source of light (ideally a window); use exra lamps if necessary
Audio: the microphone on your headphones is better than that on your computer; a real headset with attached microphone is even better
Preparation: test your technical equipment, lighting and understandability beforehand; make yourself familiar with the meeting software (if possible)

Pre-recorded video
You can record your presentation (a) with narration and (b) with narration and video.
General tips for pre-recorded presentatons
- First of all, decide whether you want to record yourself during the whole presentation; the video takes up some space and people usually look at the slides rather than at the person speaking; alternatively, you could record your narration only and add a photo of yourself on the first (and the last) slide
- Make sure to pause at the beginning and at the end of each slide to make sure your voice is not cut off
Pre-recorded presentations with narration
If you prepared your slides in PowerPoint, the easiest way to record your slide show with narration is to record it in PowerPoint itself (see tutorial).
Pre-recorded presentations with narration and video
- Place the video of yourself in the upper or lower right corner of the slides
- Leave sufficient space for the video, e.g. by adding a reactangle to your slides as a placeholder
- Avoid a busy background that might distract from the slides and from yourself
Creating and using figures
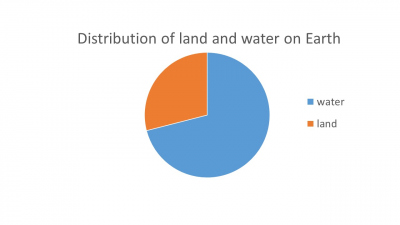
- Figures and graphs to illustrate data can be created using e.g. MATLAB, R, Excel, PowerPoint
- Since you will use your figures in different presentation formats (e.g. scientific journals, PowerPoint presentations, posters), it is recommendable to create them in a scalable vector format. Since the labels will need to be adjusted to the purpose, you can save each figure twice: one version with labels, one without labels. That way you can individually add labels with the font size that is optimal for the particular purpose
- Many figures can be drawn in PowerPoint, if more functions/details are needed, graphic design software is recommendable, e.g. Corel Draw (included in the MARUM software package), Adobe Illustrator or InkScape (freeware)
- If you are looking for small sketches for illustration, you can add the word ‘clipart’ to your search
- Handdrawn figures / sketches can add a personal note to your presentation
Practise your presentation
It may seem trivial but if you practise your presentation, it will most likely turn out much better!
- Practise by presenting to colleagues and/or friends
- If you have access to the meeting software that is going to be used, familiarise yourself with it
- Do you often use "em", "er", "you know" or similar fillers? These may cost valuable time and can be tiring for the audience. They may also leave the impression that you are insecure or insufficiently prepared. Practice your presentation as often as you need to be able to tell your story without using fillers.
- Some people find it helpful to write down what they plan to say
Tools and resources
| Online polls and surveys |
| Zoom |
| SurveyMonkey app for Zoom chat |
| Video (plus slide) recording (free software) |
| PowerPoint (recording with video doesn't seem to work on all computers) |
| Zoom |
| Open Boradcaster Software (OBS) Studio |
| Logitech Capture |
| OBS tutorial (YouTube) |
| https://www.youtube.com/watch?v=ySENWFIkL7c [26:57] |
| Logitech Capture tutorial (YouTube) |
| https://www.youtube.com/watch?v=qIte3EQulUA [2:48] |
| Video editors (free) |
| Shotcut |
| Microsoft Video Editor (included in Windows 10) |
| Kinemaster (for mobile devices) |
| Open Shot |
| Examples of interactive posters and commercial software |
| "Next generation of scientific posters" project, Kiel |
| Glogster |
| Piktochart |
| thinglink |
| QR code generators |
| https://www.qr-code-generator.com/ |
| https://www.qrcode-monkey.com/ |
Example presentations
Did you miss something on this page?
Let us know! [Bitte aktivieren Sie Javascript]


